Git for Windows インストール
Git for Windowsインストーラーのダウンロード

Git for Windows公式サイト「https://gitforwindows.org/index.html」を開き、マウスカーソルを「Download」をクリックし、ダウンロードを開始します。
Git for Windowsのインストール
ダウンロードしたファイルを起動し、インストールを開始します。
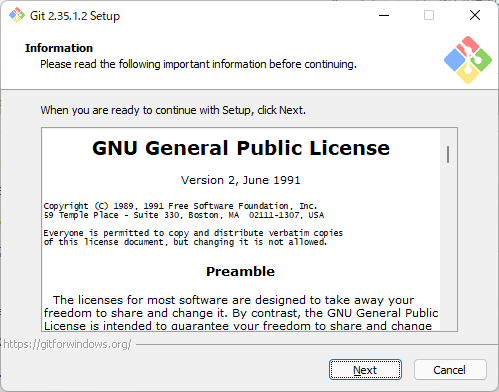
「Next」をクリックします。GNUライセンスへの同意した事になります。
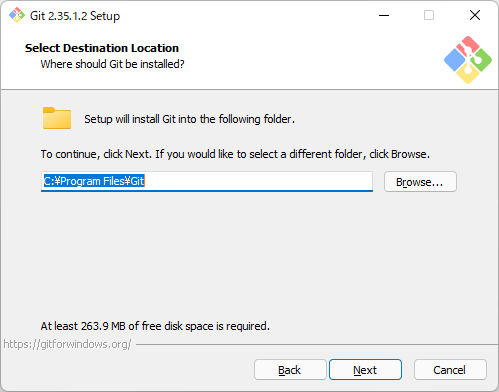
「Next」をクリックします。
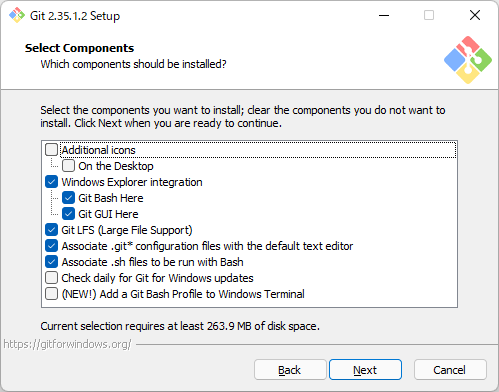
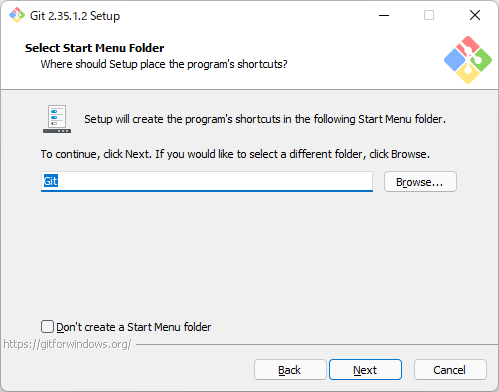
「Next」をクリックします。
「Next」をクリックします。
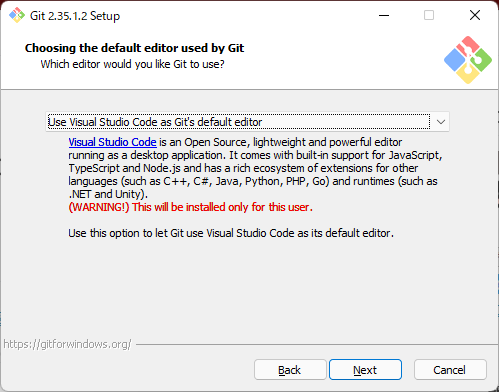
今回は、事前にインストールしている「Visual Studio Code」を選択し、「Next」をクリックします。
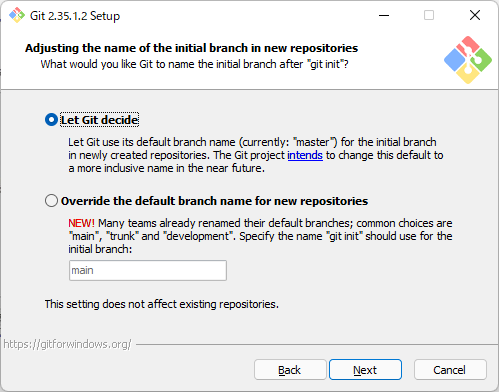
「Next」をクリックします。
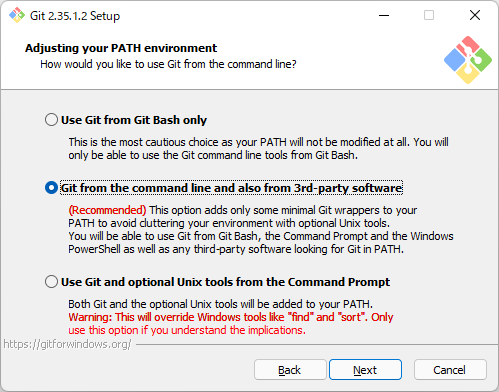
「Next」をクリックします。
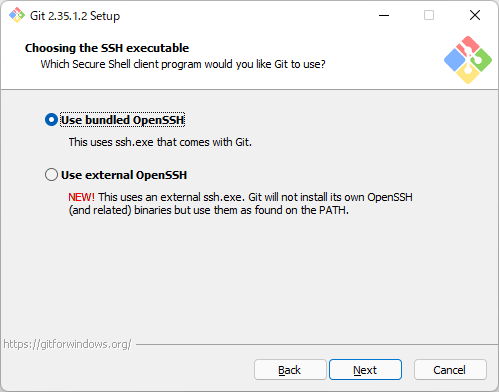
「Next」をクリックします。
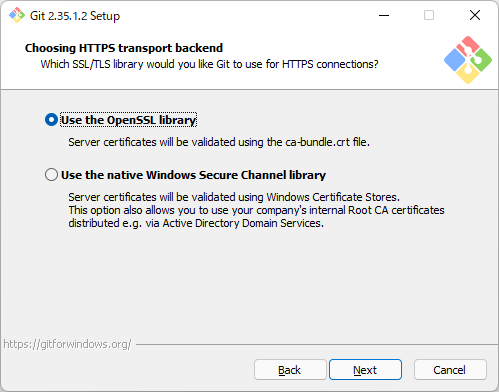
「Next」をクリックします。
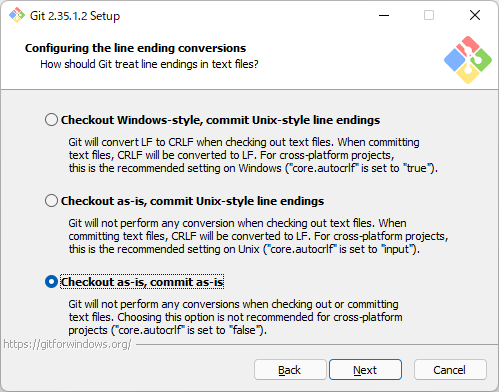
デフォルトでは「Checkout Windows-style, commit Unix-style line endings」ですが、意図せぬトラブルの元になりえるとの見解があるため「Checkout as-is, commit as-is」を選択して「Next」をクリックします。
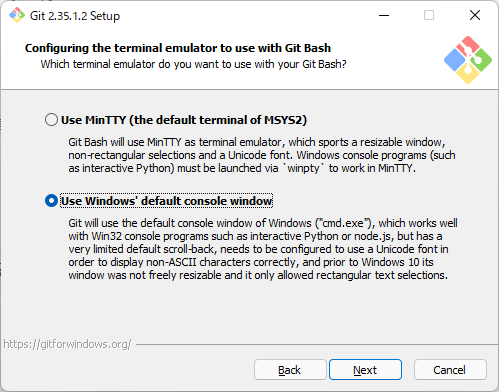
「Use Windows’ default console windows」を選択し、「Next」をクリックします。
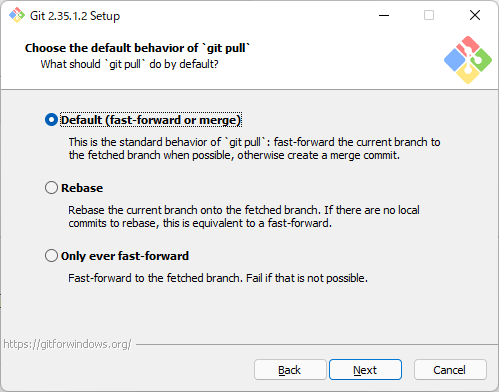
「Next」をクリックします。
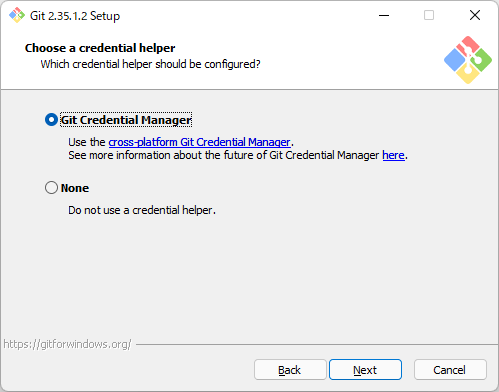
「Next」をクリックします。
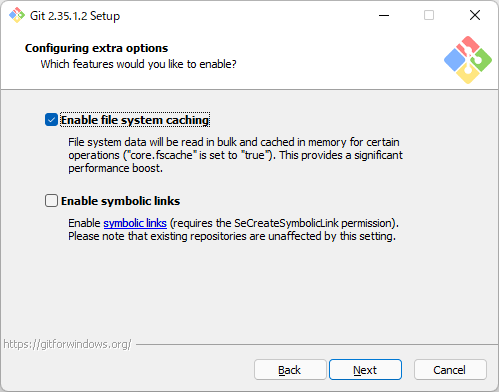
「Next」をクリックします。

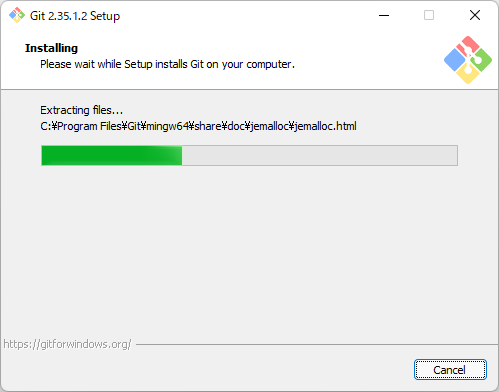
「Install」をクリックします。
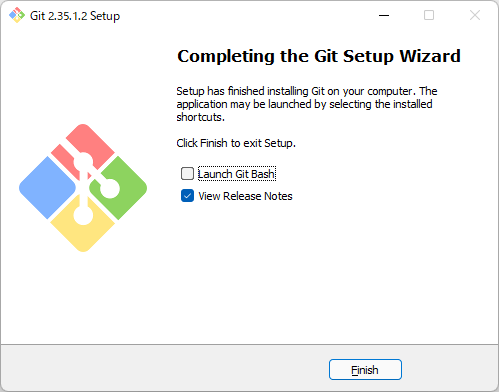
「Finish」をクリックします。デフォルトでは「View Release Note」がチェックされているのでブラウザが起動しRelease Notesが表示されます。


Gitの初期設定
Git Bashを使用して初期設定を行ないます。
Gitにユーザー名とメールアドレスを設定することで、コミットしたときに誰が行なったコミットかを記録することができます。
$ git config --global user.name "ユーザー名"
$ git config --global user.email "メールアドレス"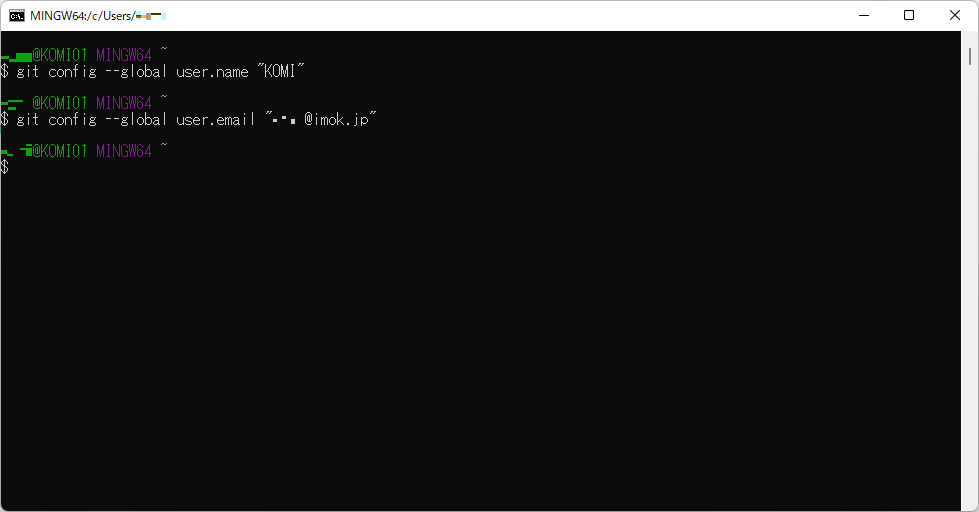
コメント